The players ~
The fox picked the banjo sending rhythms to the mice tooting notes to the bear dinging accents to the chipmunk ringing bells to the rabbit thumping beats to the squirrel harping solos to the raccoon stringing melody.
The bear. I made him first ~ the first always has a special place in my heart. This fluffy bear came pretty easily. He lacks appendages thin enough for wires, which saves oodles of time and patience. Except for his toe claws - those are wrapped wires. His triangle dings like a real triangle :) :) :).
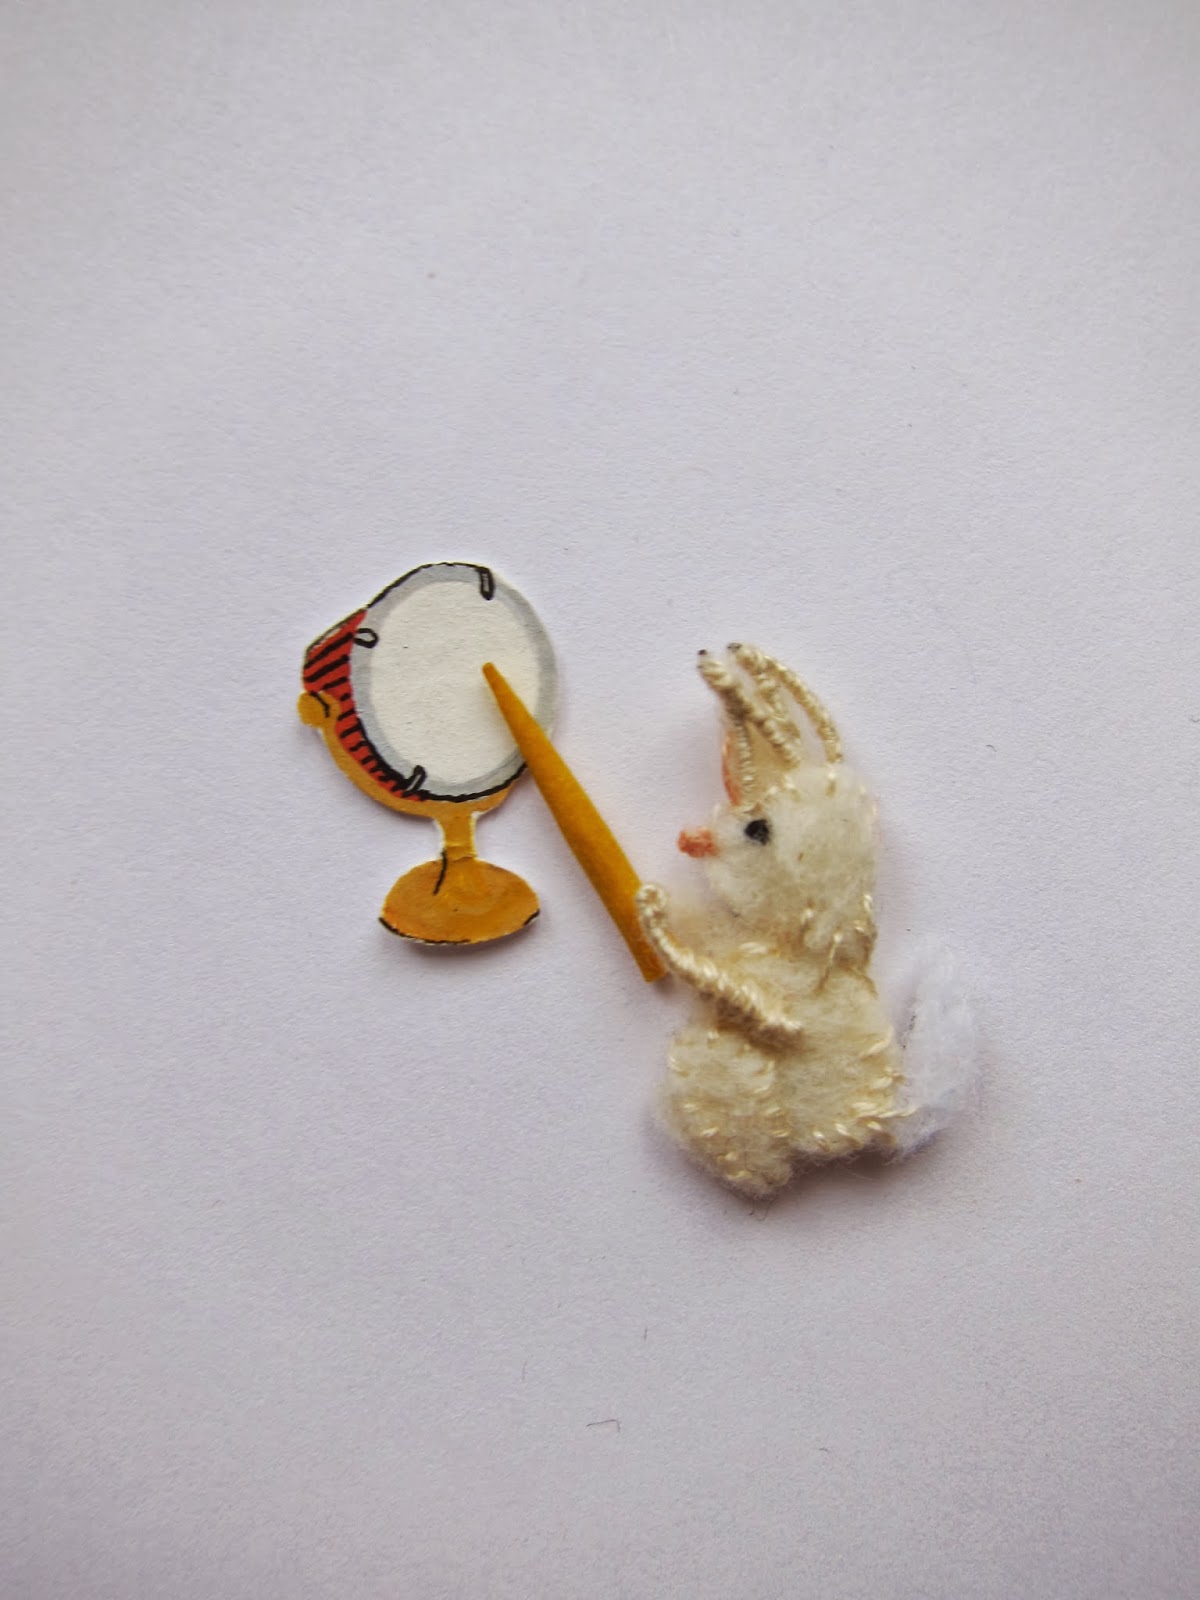
This rabbit is roughly the size of a nickel. His ears, tail and arms are made out of wrapped wire. If you look very closely, you can see the tiny pink edge of his ear. The felt tail is also supported by wire - you can bend all of the limbs!
Ah - The Fox. Sly bugger who strums a mean banjo.
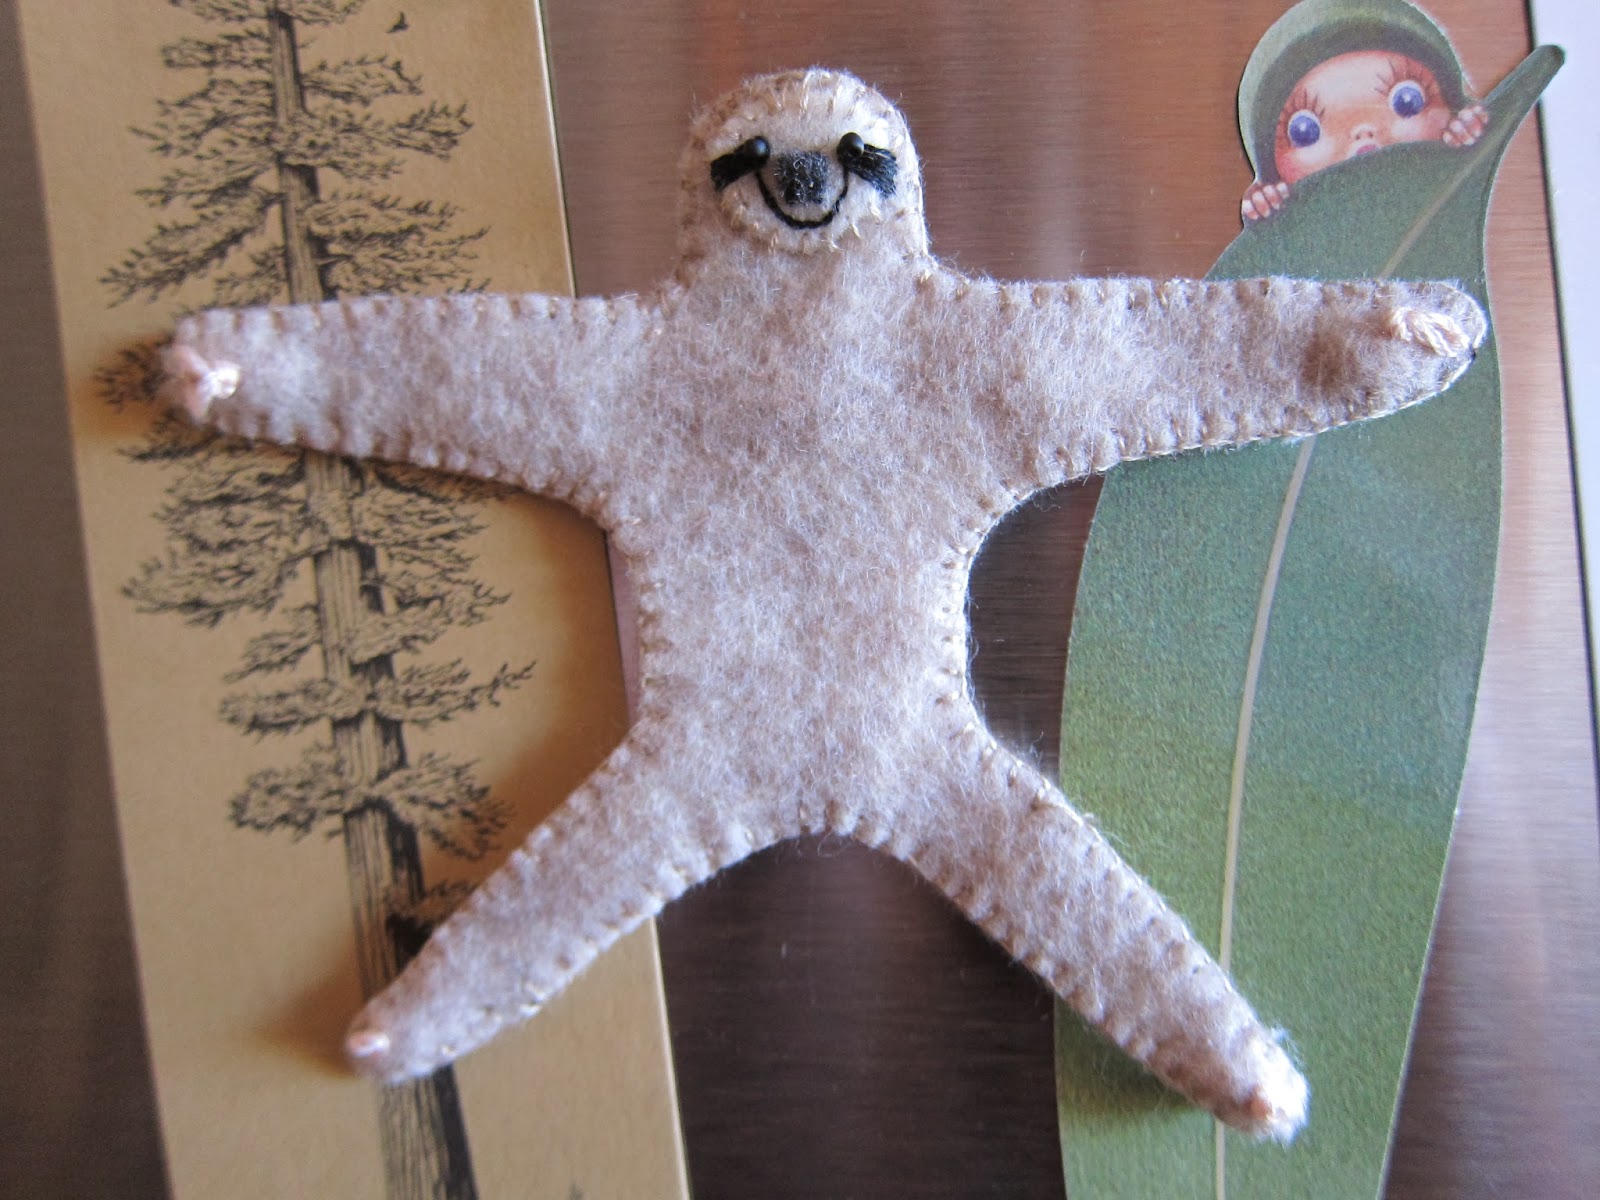
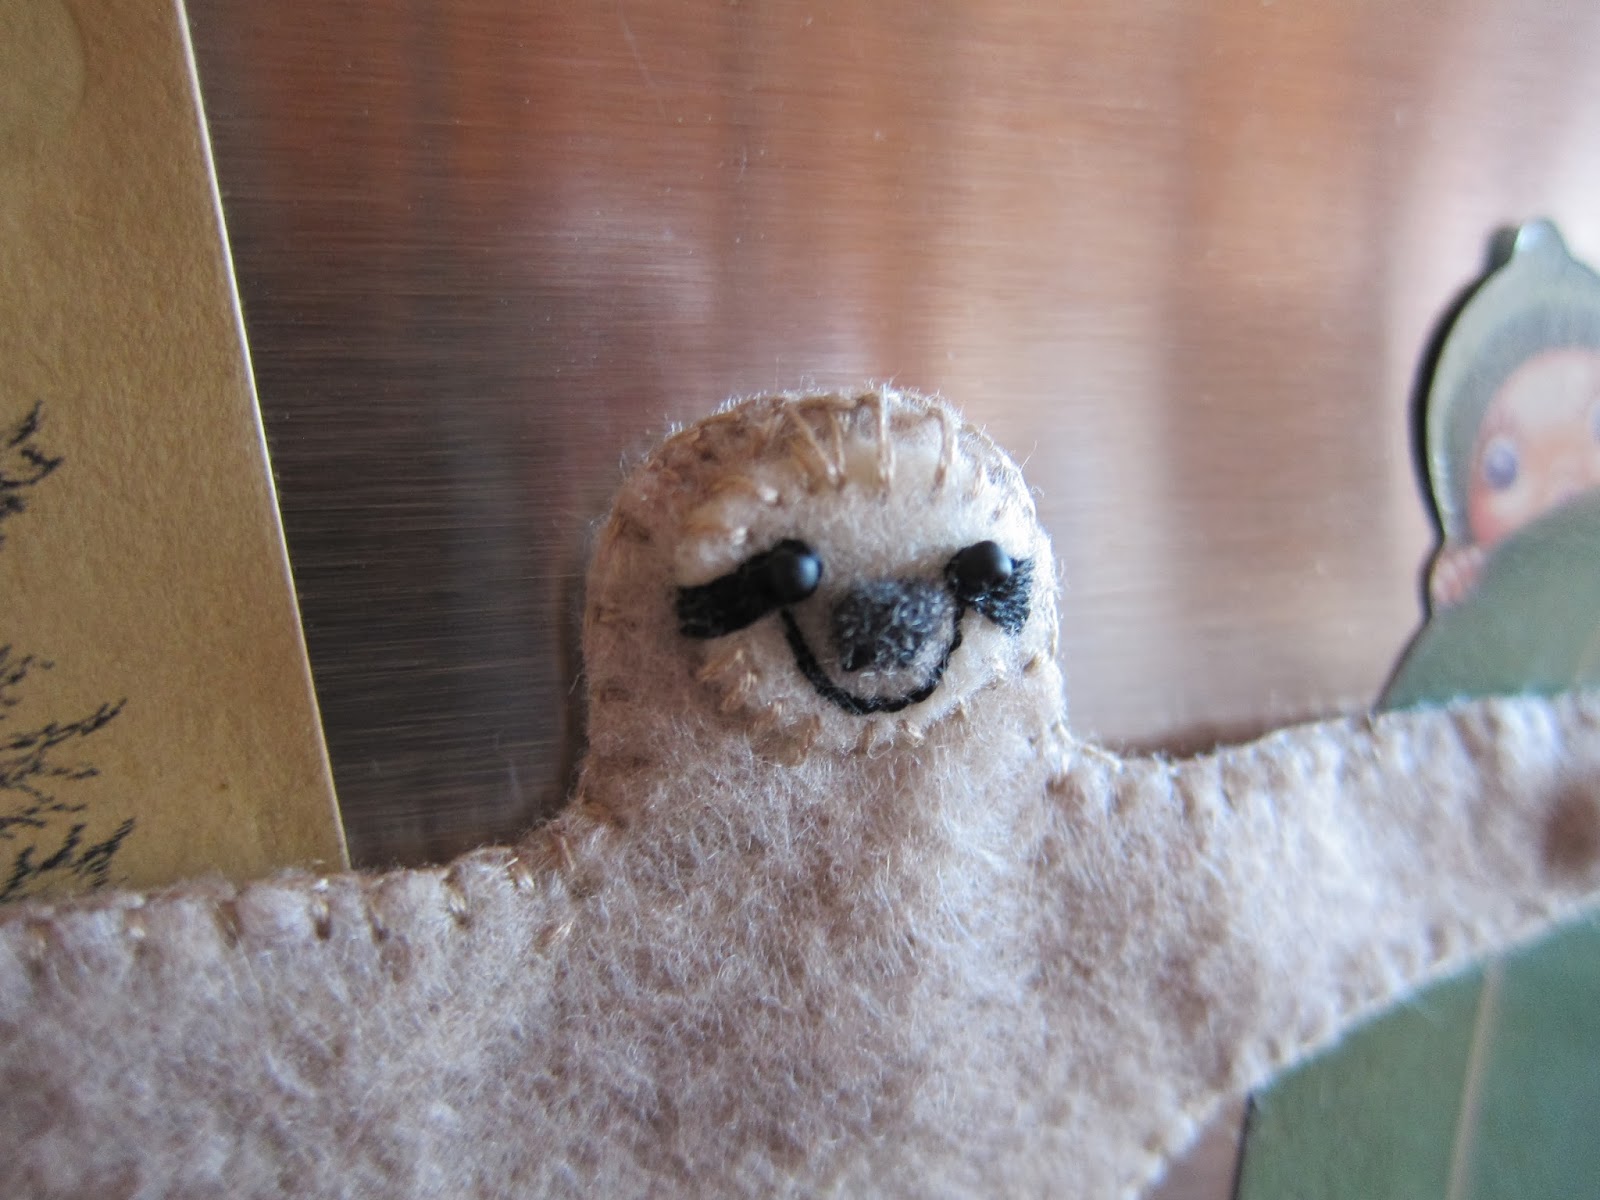
This raccoon stole my heart with his fat little belly, delicate limbs and a giant smiley face.
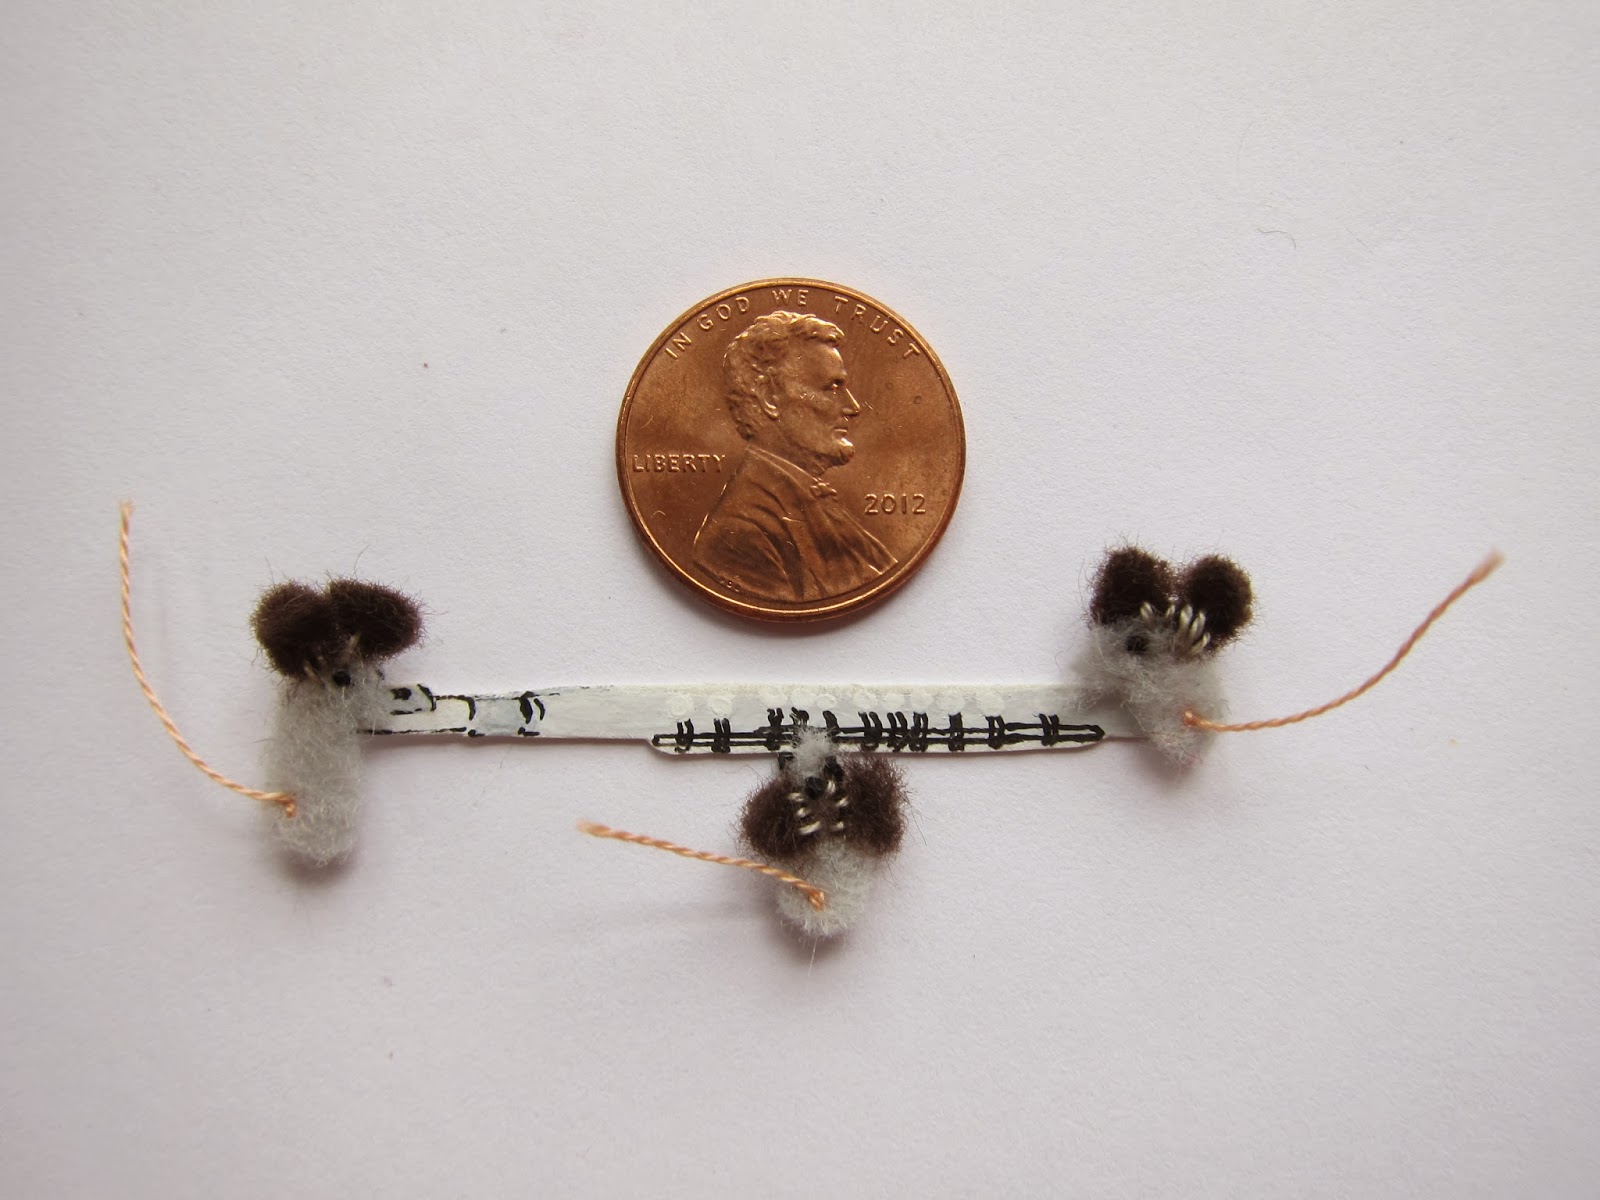
Teeny tiny stitched ears, wire wrapped once, and a 1/4" harmonica.
One of the things I love about this piece is that all of the components are stand alone. I can place the animals in different settings, with or without instruments. In my day job, we call it the "fine art of reuse"; do it once, use it many times. I go to great lengths to avoid using glue for this reason. But sometimes there's no avoiding it. As you can see below, the tip of the bell is as big as a tweezer tip. I can't think of a way to engineer that staying put.
Well, now that I look at it...there may be one way. I'll get back to you after I pry the chipmunk free from the krazy.
I also glued the drumstick to the drum. It is not attached to the rabbit.
Meeces.
The trees are a character in their own right. Each large tree took 2-4 hours to complete:
1. Design and cut patterns ~ 30 min/tree
2. Cut two layers of tree trunk ~ 45 min/tree
3. Cut holes in top layer of tree for large knots ~ 15 min/tree
4. Embroider chain stitches and split stitches throughout ~ 3 hr/ large tree, 1 hr/small tree
The trees were my favorite to handle; once completed, they were stiff and textured like bark. You can see the border of the piece in the photo above. This makes photographing and framing much easier. I add this border to all of my customer people portraits.
So, nearly 10 months later, I'm concluding my thoughts on the Forest Revelry. It was a wonderful journey; one that I'm ready to hang on the wall.


